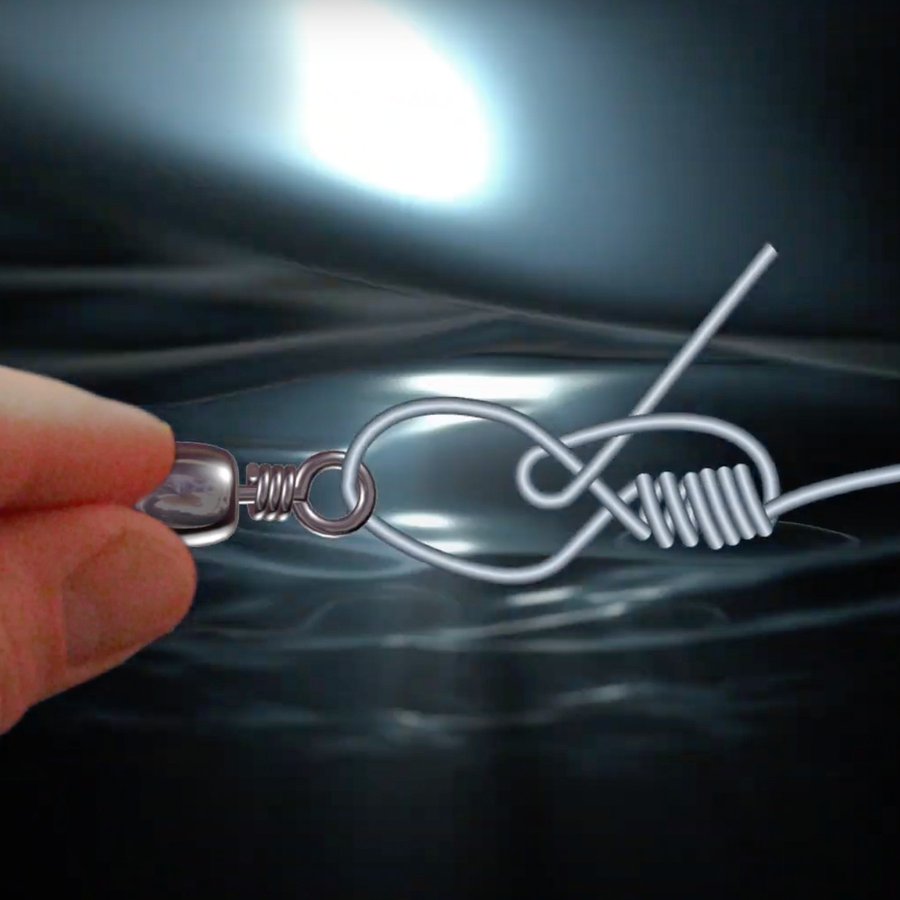
The ability to tie solid, reliable knots on the fly is one of the fundamental skills required to become a successful angler.
After all, even if you have the best equipment in the world, find the fish and make the perfect presentation with the perfect lure, it’s all for nothing if you lose fish due to shoddy knots. This is especially true for chasing muskies, among the hardest-fighting and most toothsome freshwater fish in North America.
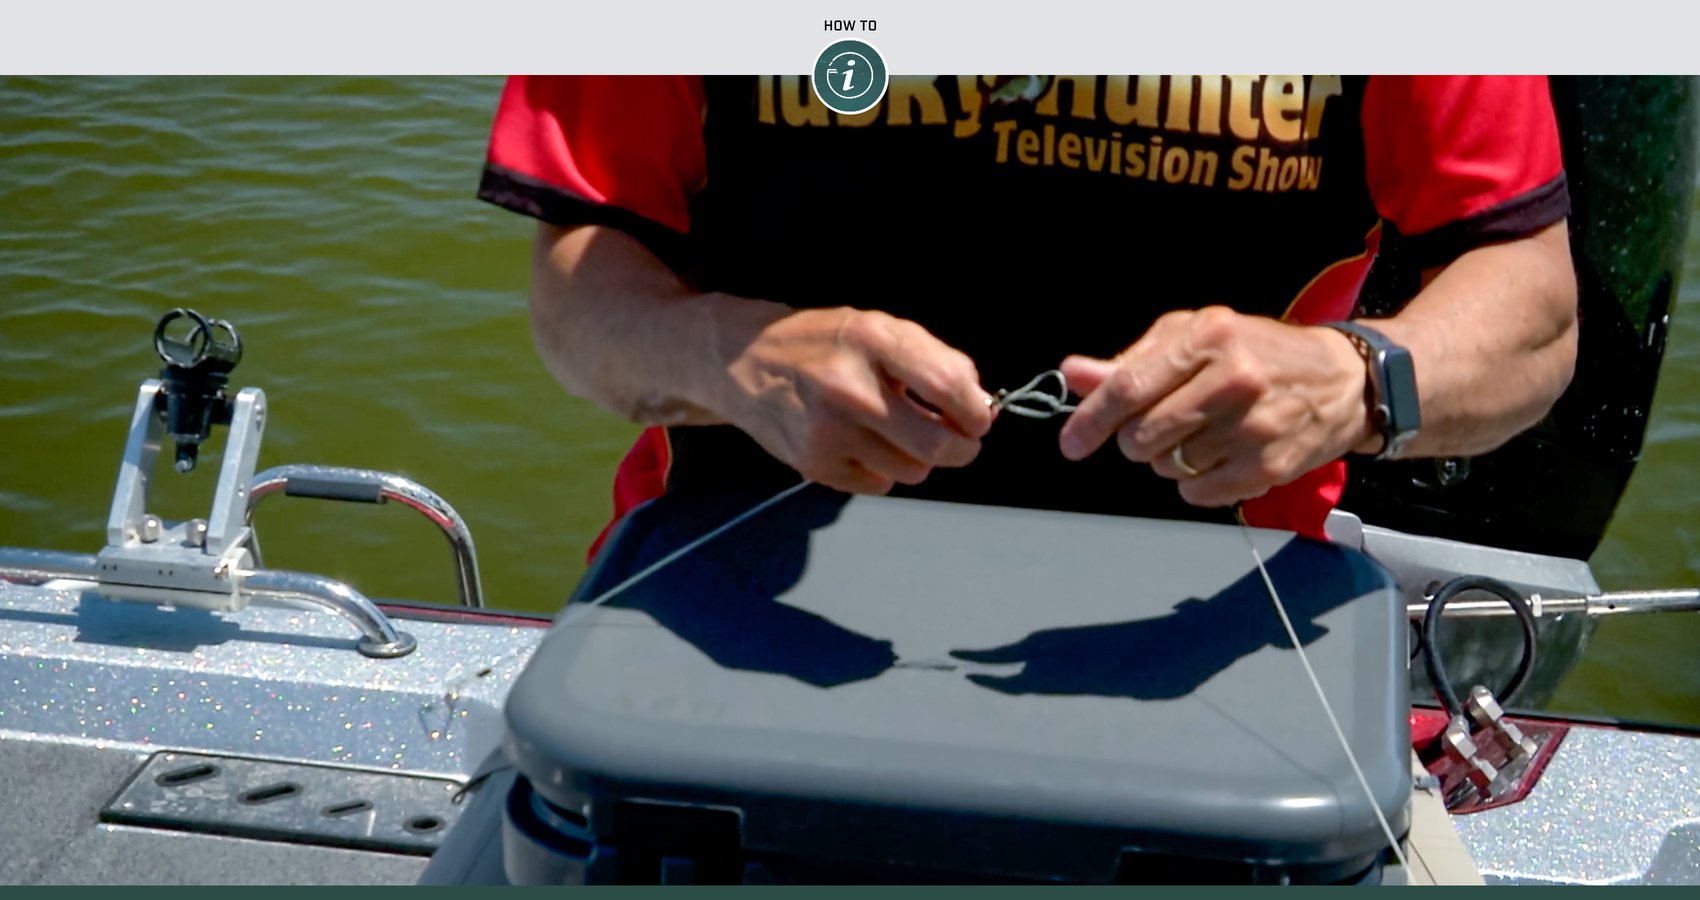
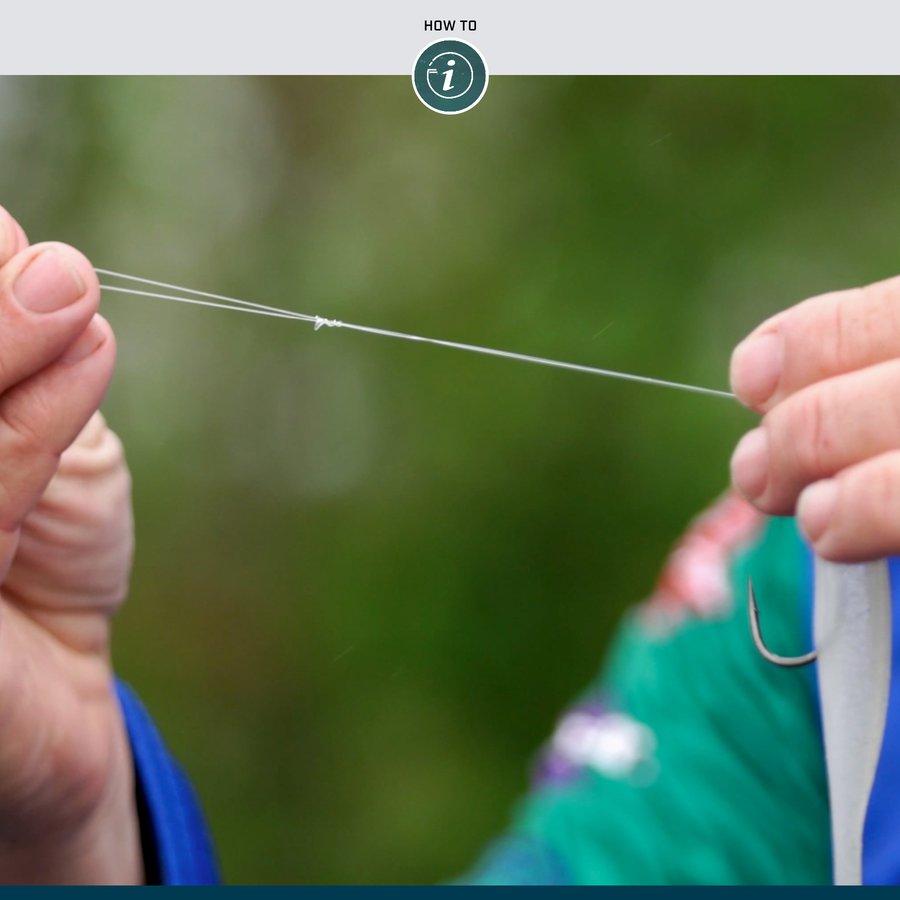
With that in mind, Mercury Pro Team member Jim Saric has put together a video to show you how to tie the power knot, an essential knot for targeting muskies as well as many other species of fish. Saric is the host and executive producer of the award-winning “The Musky Hunter” television series and is one of the foremost experts on musky fishing. He uses this easy-to-tie knot to connect his braided line to a swivel that is tied to one end of his bite leader, though it can also be used to tie line directly to a lure, so it’s a great knot to have in your arsenal no matter what species you are after.
Saric will show you the steps in detail in this short video, but here is the basic operation:
- Double the last 8 to 12 inches of the braided line, forming a loop.
- Push the loop through the swivel eye and feed about half of the doubled portion through.
- Take the loop that you fed through the eye and wrap or twist it 5 to 6 times around the doubled portion of “standing line” that remains on the other side of the eye.
- While holding your wraps in place, carefully feed the tag-end loop through the space that’s formed between the wraps and the swivel eye.
- Again, holding the wraps in place, open the loop and feed the entire leader and swivel through the loop.
- Gently pull the standing part of the line combination away from the swivel to start tightening the knot.
- As you gradually draw the knot tight, keep spreading out the wraps so they tighten evenly and cleanly. Don’t stop tightening until the wraps are firmly cinched side by side next to the swivel eye.
- Trim the working end of the line to a quarter inch or so, then give one final tightening tug, and you’re ready to fish.
As with any knot, the steps in tying the power knot may sound confusing until you see it demonstrated. But once you’ve practiced it a few dozen times – perhaps at your workbench while prepping rods for your next trip – you’ll be tying it in seconds in any situation.
For more great instructional videos and articles that will help you up your fishing and boating game, check the rest of the How-To section of the Mercury Dockline Blog.
You can follow Jim Saric and The Musky Hunter on Facebook, Instagram and MuskyHunterTV.com.
